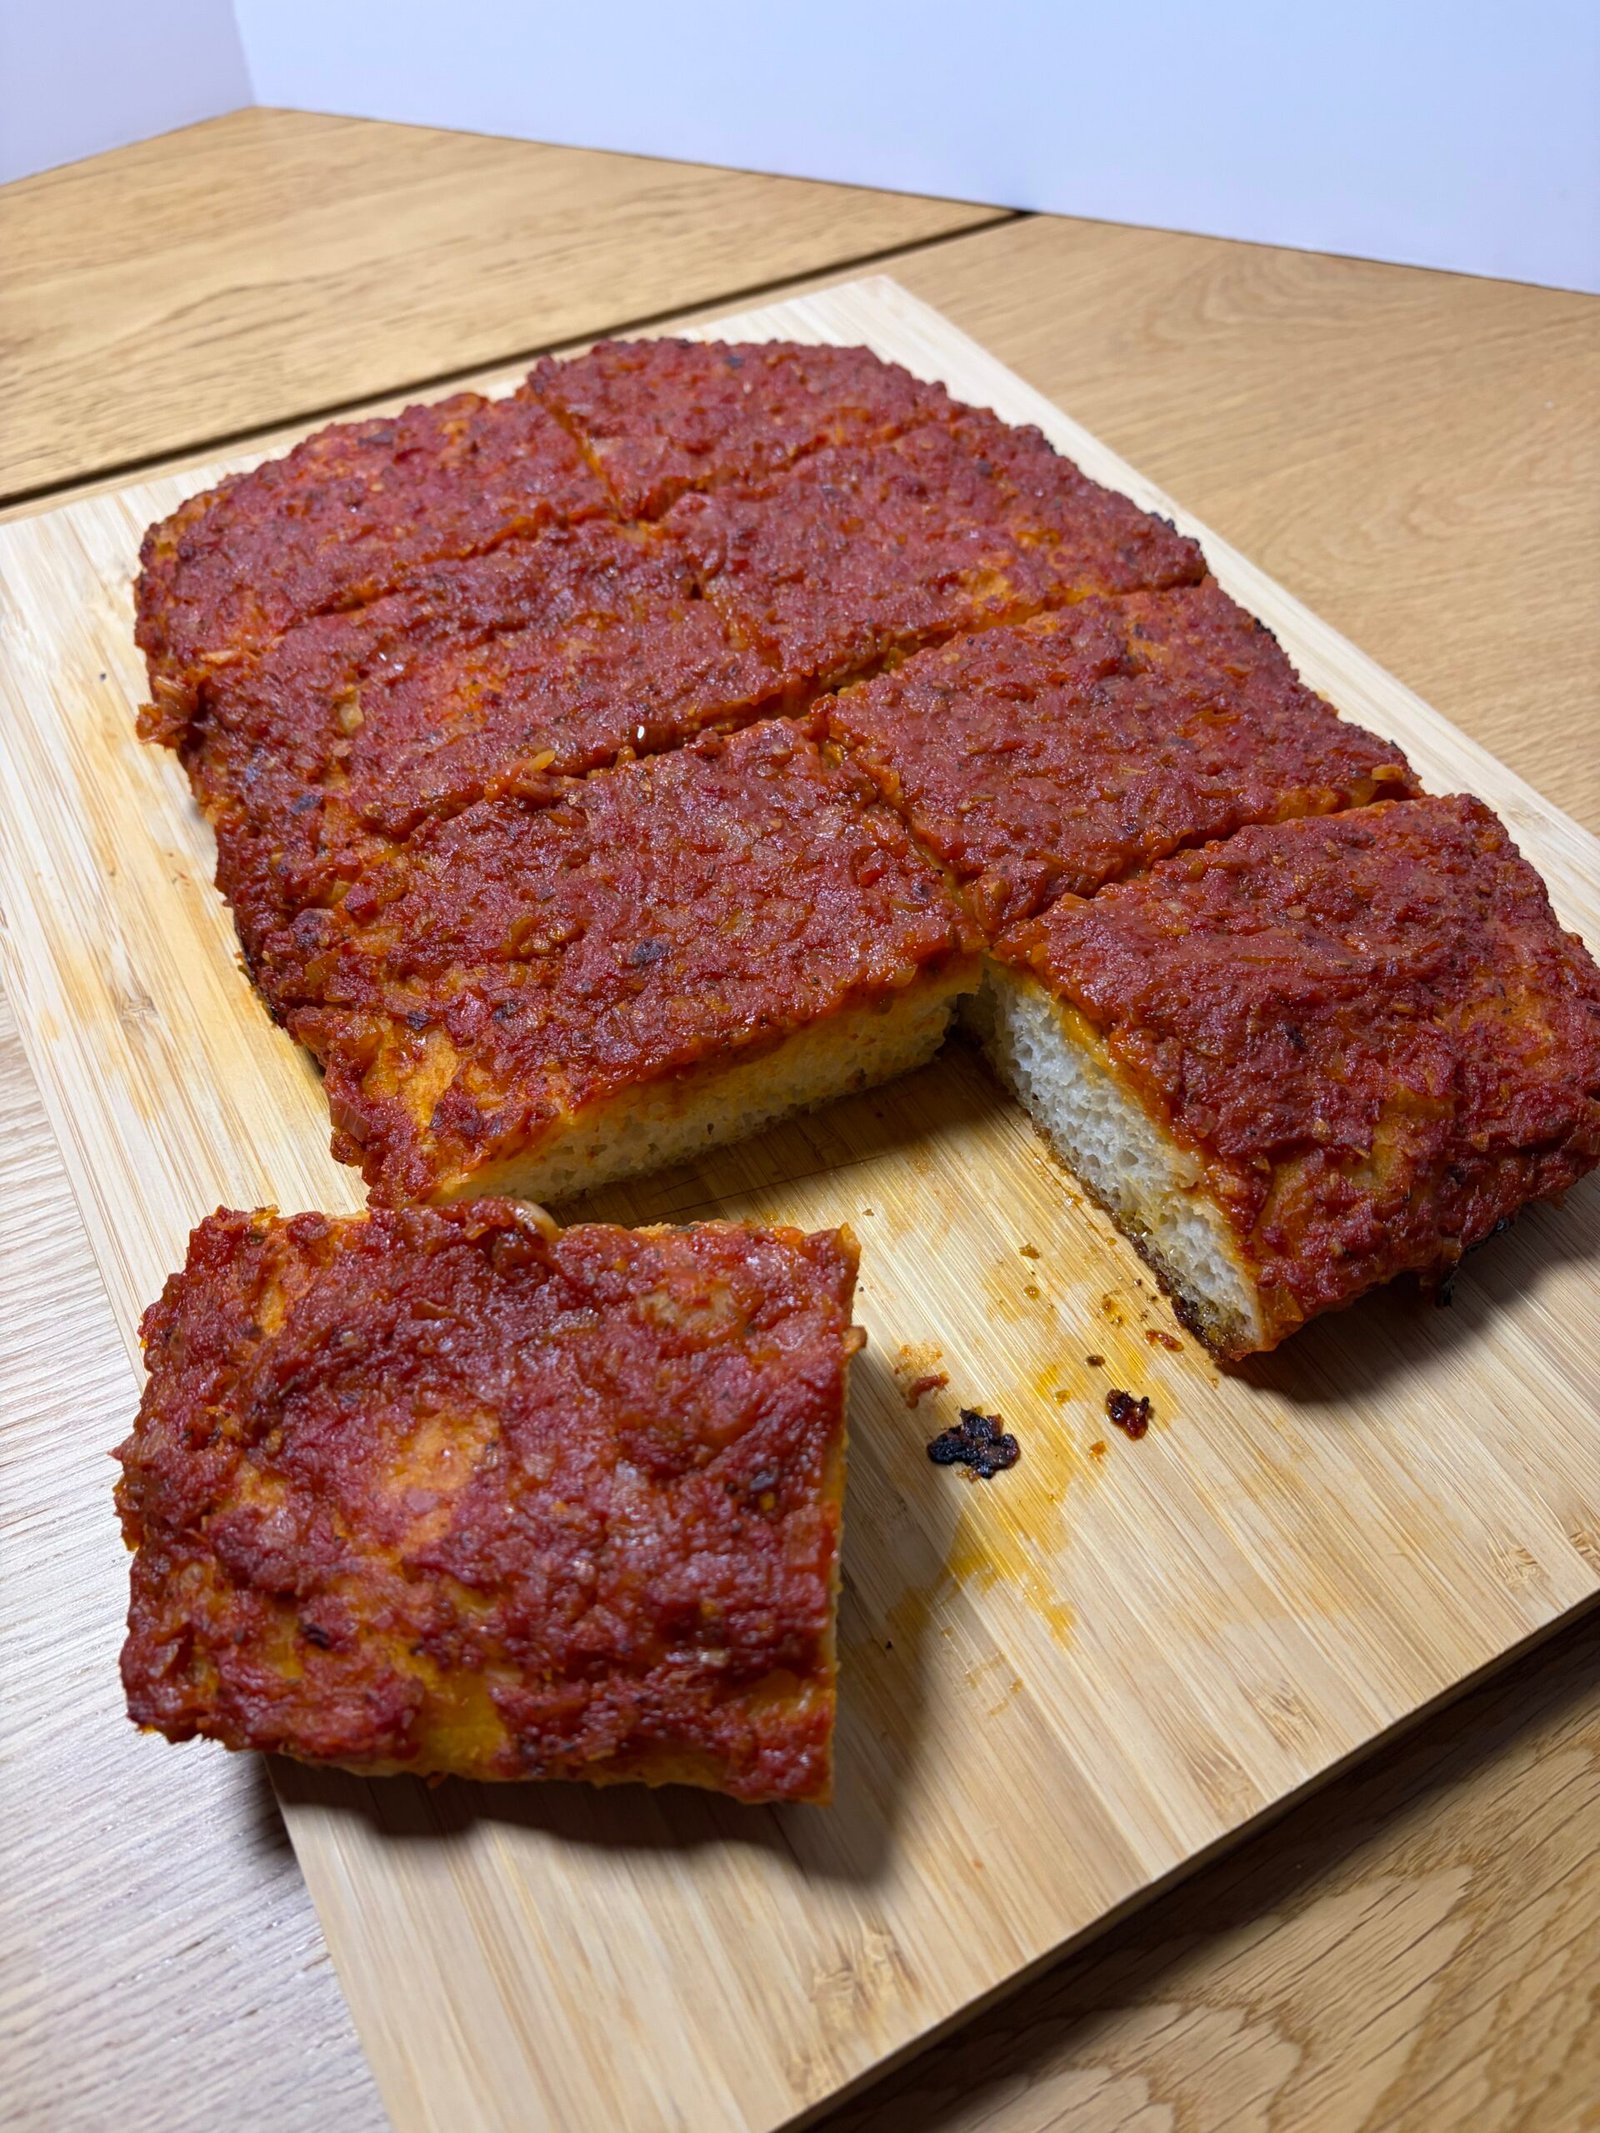
Philly-Style Tomato Pie
For me, this recipe is pure nostalgia. Almost every large gathering at home came with a tomato pie, and the best ones came from our runs to Altomontes Italian Market. You would be handed over a massive cardboard box and have to maneuver it into the car. I never could wait for the guests. We’d barely get through the door before I had to sneak a piece.
What made it so good was the balance. The sauce was sweet and a little savory, and it sat on a thick, tender dough. It was always served at room temperature, and there were never any leftovers, because it was the one thing nobody could stop eating.
This version is inspired by those pies. It’s my way of bringing that box to the midwest.
Why You’ll Love This Recipe
The dough is very wet, closer to a thick batter than a traditional dough, and that’s the secret. A long mixing time builds structure without any hand kneading, and the high hydration gives you an open, airy crumb that’s soft and light inside. Combining all-purpose and bread flour gets you a crust that’s chewy enough to hold the sauce but not a true focaccia.
The dough rises in a generous amount of olive oil, so the underside fries as it bakes. You get a crisp, flavorful base with a tender interior, similar to a great focaccia. The bottom stays crisp through refrigeration and room temperature settings.
Instead of a quick topping, the sauce is cooked down for 30 minutes. Shallot and garlic build the base, oregano brings that classic Italian-American flavor, and a touch of butter rounds it out. Red pepper flakes add a gentle warmth without making it spicy, and a spoonful of sugar balances the acidity of the tomatoes, giving you that signature sweetness.
Simmering the sauce uncovered reduces it until it’s thick and jammy. That keeps the moisture out of the dough, so every slice holds together and cuts into clean squares.
The stand mixer does the heavy lifting, and the sauce can be made while the dough rises. There’s no kneading, no shaping, and no pizza stone or peel required. Just a 9×13 metal pan.
It’s easy to make, easy to slice into squares, and even better at room temperature, so you can bake it ahead and put it out without worrying about keeping it hot. It’s the kind of dish that disappears from a party table.
Cheese Variations
Classic Philly-style tomato pie is made with little or no cheese, and the sauce is meant to be the star. If you want to add some, here are a few ways to do it.
The traditional finish
Grate a light dusting of Pecorino Romano or Parmesan over the pie right when it comes out of the oven. Both are salty, so a little goes a long way.
- Keep it light. A thin layer lets the sauce shine. Too much turns it into a different dish and weighs down the crust.
- Watch the salt. If you’re using a salty cheese like Pecorino, you can trim the salt in the sauce slightly.
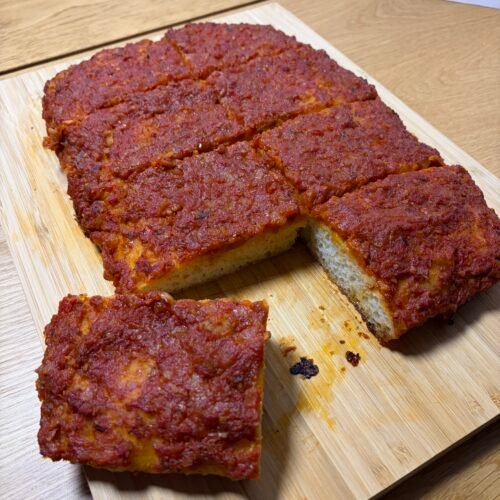
Philly-Style Tomato Pie
Equipment
- 1 Stand Mixer w/ Dough Hook
- 1 9×13 or 10×15 High Rim Metal Pan Or Glass/Ceramic
Ingredients
Dough Ingredients
- 1½ tsp instant yeast
- 1 tsp honey
- 1½ cups AP flour 195g
- 1½ cups bread flour 195g
- ½ tbsp salt
- 1½ cups lukewarm water 350g
- ½ cup olive oil divided
Sauce Ingredients
- 1 tbsp extra-virgin olive oil
- 1 tbsp unsalted butter
- 1 tsp red pepper flakes
- 1 large shallot finely diced
- 4 cloves garlic minced
- 1 tbsp dried oregano
- 1 28-oz can whole peeled tomatoes, gently pulsed in blender
- 1 tbsp sugar
- ¾ tsp Morton coarse kosher salt
Instructions
Make the sauce first (it needs time to cool)
- Heat the olive oil, butter, and red pepper flakes in a large pot over medium heat.
- Add the shallot and cook until soft and translucent, [about 3 minutes].
- Add the garlic and oregano and stir until fragrant, about 30 seconds, so the garlic doesn’t burn.
- Add the tomatoes and their juices. Simmer, uncovered, for about 30 minutes, stirring occasionally so the bottom doesn’t scorch.
- The sauce is ready when it’s noticeably reduced and thick enough that a spoon dragged through it leaves a trail. A thick sauce keeps the crust from getting soggy.
- Stir in the sugar and salt, then taste and adjust. Set aside to cool while the dough finishes.
Make the dough
- Add the lukewarm water to the bowl of a stand mixer fitted with the dough hook. Whisk in the yeast and honey and let sit 5 minutes, until foamy. (If it doesn’t foam, your yeast may be dead or the water too hot or cold.)
- Add the flours and salt. Mix on low until the flour is incorporated, then increase to medium-high for 5 minutes. (If your mixer struggles or walks across the counter, drop to medium.)
- Turn off the mixer, cover the bowl with plastic wrap, and rest for 10 minutes.
- Resume mixing on medium-high for another 15 minutes. The dough will be very wet and sticky, closer to a thick batter than a traditional dough. That’s correct, and it’s what gives the crust its open, airy crumb. Don’t add more flour.
- Pour ¼ cup olive oil into a large bowl. Scrape the dough into the bowl with a rubber spatula and coat the top in oil. Cover and let rise until doubled in size, [about 1–1½ hours depending on your kitchen’s temperature].
- Add the remaining ¼ cup oil to the 9×13 or 10×15 pan. Pour the dough into the pan and gently pat it into the corners with oiled fingers. If it springs back, let it rest 10 minutes and try again. Cover and let rise another 30 minutes, until puffy.
- Dimple the dough heavily with your fingers, pressing all the way to the bottom of the pan.
Bake
- Bake at 450°F for 15 to 20 minutes, until the crust is set and just starting to turn golden.
- Remove from the oven and spread the sauce evenly over the top, spread all the way to the edges. It is ok for the sauce to touch the pan as it will caramelize as it bakes.
- Return to the oven and bake about 25-30 more minutes, until the sauce is bubbling and the edges are browned
- Let cool in the pan for 10 minutes, then lift out and cool further on a rack. Slice into squares and serve warm or at room temperature.
Notes
If you’re using a 10×15 pan:
- The dough has farther to travel, so patting it into the corners takes a little more patience. If it springs back, let it rest 10 minutes and try again.
- Thinner dough bakes faster, so start checking the crust at about 15 minutes for the first bake. It should be set and just starting to turn golden.
- After adding the sauce, check at about 20 minutes. You’re looking for bubbling sauce and deep golden edges.
- The sauce layer will be thinner.
If you’re using a 9×13 pan:
- Follow the bake times as written (20 minutes, then about 25 more).
- The dough will be thick and deeply dimpled, so press all the way down to the bottom of the pan.
- This version has the most sauce per square, so it’s the one for sauce lovers.
Why a Metal Pan Matters
Metal conducts heat quickly, so the bottom of the dough starts crisping the moment it hits the oven. The olive oil in the pan then fries the underside into a golden, crunchy base that pulls away from the pan cleanly. Glass and ceramic heat up slowly. The bottom of the dough stays pale and soft for longer, so it never forms that crisp, oil-fried crust. Instead it sets up damp and gluey against the pan, which makes the pie stick and tear when you try to lift it out. Once hot, glass and ceramic also hold their heat, so the edges can overbake while the bottom is still catching up. If glass or ceramic is all you have:- Use a little extra olive oil in the pan.
- Line the pan with a parchment sling, leaving overhang on the long sides, so you can lift the pie out.
- Run a thin knife or spatula around the edges as soon as it comes out.
- Let it cool 10 minutes before lifting, so the crust firms up.
- Expect a softer, paler bottom and check the bake times, since they may run longer.